Add New Tracks Wizard
The Add New Tracks Wizard guides you through adding new tracks to your PlayIt Live library. To open it, go to Manage > Tracks... and click the Add New button in the Manage Tracks window.
Adding tracks does not copy your audio files into PlayIt Live. Each track links to the original file at its current location, so the file must stay where it is and remain accessible for the track to play. Do not delete, move or rename the files afterwards, or disconnect the drive or network share they are stored on. Move your audio into its permanent location before running the wizard.
The first page of the wizard asks you to choose how you would like to add tracks.
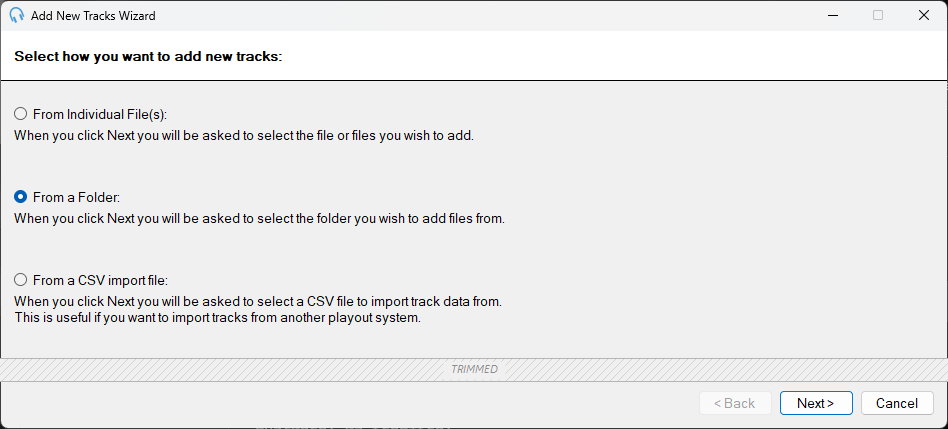
The Add New Tracks Wizard showing the source selection options.
From Individual File(s)

Select this option to add one or more specific audio files. When you click Next, you will be prompted to browse and select the files you wish to add.
From a Folder

Select this option to add all supported audio files from a folder. When you click Next, you will be prompted to choose a folder. All audio files found in the folder will be imported.
From a CSV Import File

Select this option to import track data from a CSV file. When you click Next, you will be prompted to select a CSV file containing track metadata and file paths. See CSV Track Import for details on how to create a CSV file and the full list of supported columns.
To generate a template CSV file, go to Manage > Tracks and export the current list of tracks using the Export track list to CSV button. You can then modify the exported file to import a new set of tracks.
Back

Click Back to return to the previous page of the wizard. This button is disabled on the first page.
Next

Click Next to proceed to the next step. Depending on the source option you selected, you will be prompted to choose your files, folder, or CSV import file.
Cancel

Click Cancel to close the wizard without adding any tracks.