Scheduling Clocks
Clocks must be scheduled in the schedule grid to be considered by the playout log scheduler.
This page describes the Clock Grids scheduling mode, the recommended way to schedule clocks in PlayIt Manager. Stations that still use the older calendar-based mode can refer to Legacy (Calendar) for documentation of that mode, or follow Migrating to Clock Grids to switch to the modern workflow. The active mode is chosen on the Scheduling Settings page and only one mode is shown at a time.
The Scheduling Clocks page has two views: a Clock Grids view for building reusable weekly templates, and a Schedule View that shows the resolved schedule on a calendar and lets you apply one-off overrides. Switch between the two views with the toggle at the top of the page.
Clock Grids view
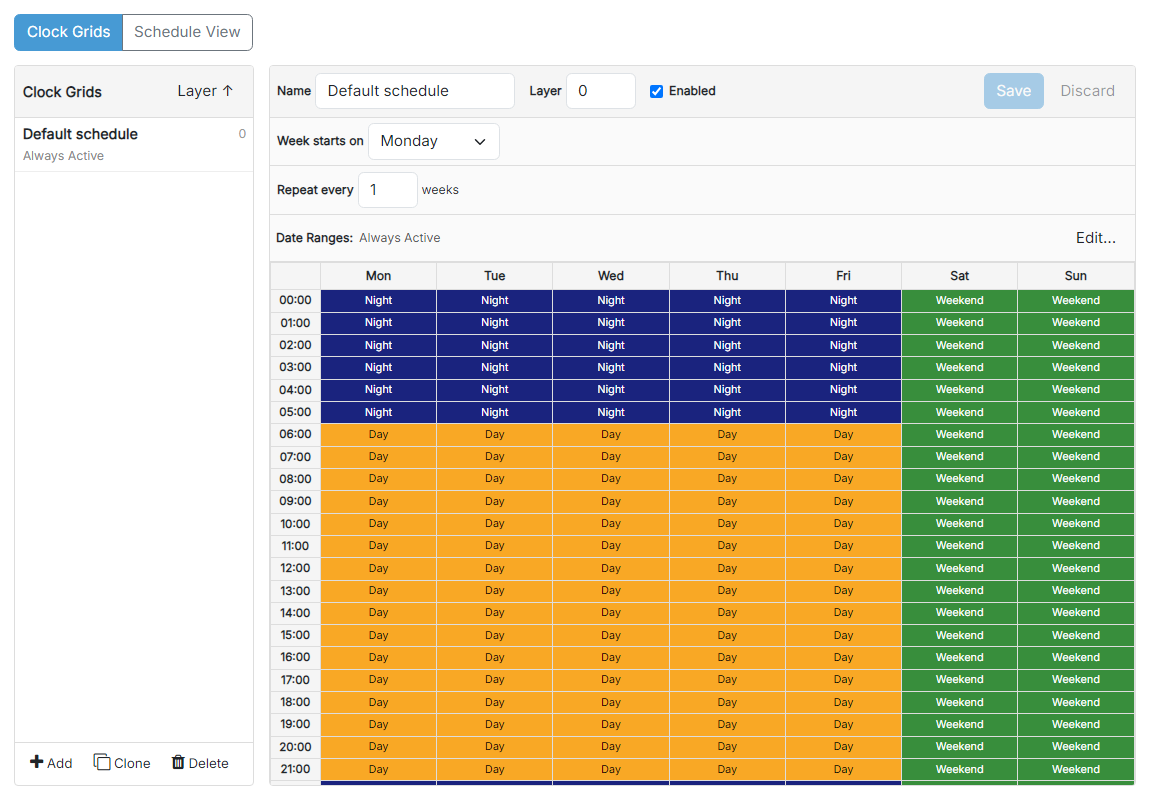
The Clock Grids view is where you build and edit the weekly templates that drive the schedule. Each grid assigns a clock to each hour of the week and may be limited to specific date ranges or week recurrence rules. Multiple grids can be stacked using the Layer value, with higher-layer grids overlaying lower-layer grids; the lowest layer acts as the base template.
Single grid vs. Advanced Scheduling
A single clock grid is the simple case: one weekly template covers every hour of the week, and a single grid can always be used regardless of license.
Stacking multiple grids in layers is the Advanced Scheduling workflow. You build a base weekly grid and then add additional grids on top for special periods. For example, a base Weekday grid at the lowest layer covers the normal week, while a Christmas Day grid on a higher layer fills only the hours of 25 December and is limited to that date range; every other hour falls through to the base grid. Layering grids this way requires a license with the Advanced Scheduling module.
Note: Without the Advanced Scheduling module only a single clock grid takes effect. If more than one grid exists, only one stays active to keep the week fully covered, the others are shown as inactive, and a banner explains how to enable the rest.
View toggle

Switch between the Clock Grids view and the Schedule View. The Clock Grids view is for editing weekly templates; the Schedule View shows the resolved schedule on a calendar and is where one-off overrides are made.
Clock grids list
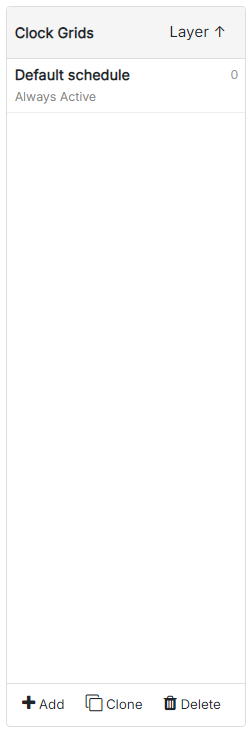
Lists every clock grid in PlayIt Manager. Select a grid to edit it in the panel on the right. The number on the right of each row is the grid's Layer: lower-numbered layers form the base of the schedule, and higher-numbered layers stack on top of the layers beneath them, overlaying any hours they cover. Each row also shows the grid's active date range, or Always Active when it has none. Use the button in the panel header to sort the list by layer.
When Advanced Scheduling is not licensed and more than one grid exists, the inactive grids are dimmed with a struck-through date range and a "no entry" icon whose tooltip explains that Advanced Scheduling is required to use more than one grid.
Use the Add button to create a new grid, Clone to duplicate the selected grid, and Delete to remove it.
Weekly grid editor
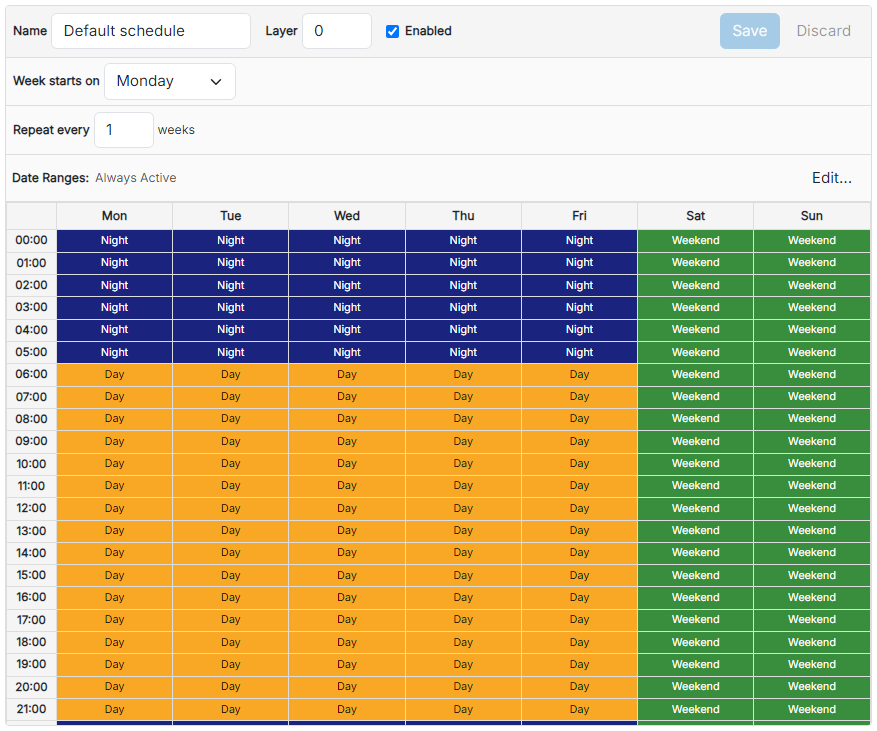
Assign a clock to the grid by dragging it from the clock picker on the right and dropping it onto a cell. To fill several hours at once, select a block of cells first (drag across them, or hold Ctrl and click), then drop a clock onto the selection, or right-click and choose Assign to apply the clock currently selected in the picker. Use Week starts on to choose which day of the week the grid begins. Use Repeat every N weeks with Date Ranges to limit the grid to specific weeks (for example, every other week, or only within a date range).
When you add or edit a date range you can tick Ignore year on dates to make it repeat every year. Only the day and month are matched, so a Christmas grid set to 23 December to 2 January switches on automatically each festive season, including across the new year, without the dates needing to be updated. Recurring ranges are shown by day and month only.
Cells you leave empty in a higher-layer grid let the lower layer beneath show through, so an overlay grid only has to specify the hours it changes.
You can always check the effect of your combined grids in the Schedule View, which shows the resolved schedule for the week.
Assigned cell
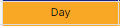
The color and label of an assigned cell come from the clock set on the editing clocks page.
When Advanced Scheduling is not licensed
If your license does not include the Advanced Scheduling module and you have more than one clock grid, the Clock Grids view shows a banner above the list, and the grids that are not taking effect are marked inactive in the list.
Schedule View
The Schedule View shows the resolved schedule as it will be evaluated by the playout log scheduler, with the active clock for every hour of the visible week. Hours can also be overridden one at a time without changing the underlying grids; overrides take precedence over every grid layer and are shown with a pin indicator.
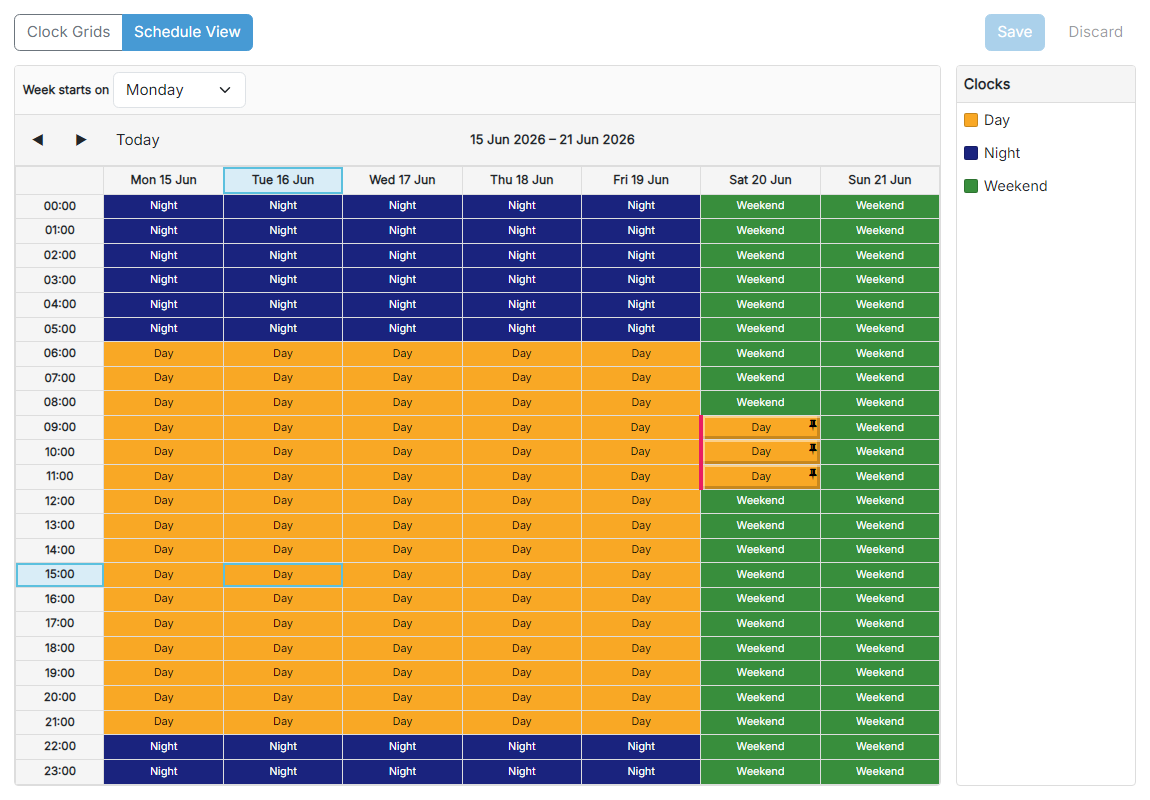
View toggle

Switch back to the Clock Grids view to edit the templates that drive the schedule.
Date selector

Select the week you wish to view. Click Today to return to the current week. Use the arrows to step back and forward one week at a time. Click the week-of date label to open a calendar  for picking a specific date.
Weekly schedule grid
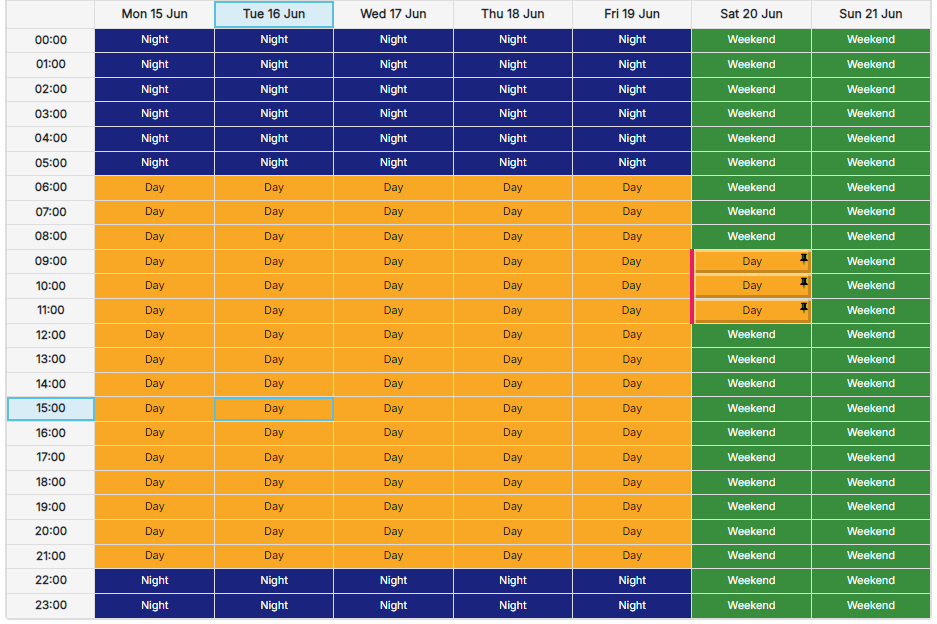
Shows the resolved clock for every hour of the visible week, taking every active clock grid and any one-off overrides into account.
Double click an empty cell to create a new override and pick a clock for that hour. Double click an existing entry to change it, and use the context menu to clear an override and let the underlying clock grid take over again. You can also drag a clock across a block of cells to override several hours at once. Cell colors come from the clock set on the editing clocks page.
Existing schedule entry
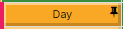
An hour cell shows the clock that will be used for that hour. The highlighted cell is driven by a one-off override, shown with a small pin so you can tell it apart from cells driven by a clock grid. Double click the cell to change its override, or use the right-click context menu to clear it and let the underlying clock grid take over again.