Legacy (Calendar)
Clock Grids is the recommended way to schedule clocks in PlayIt Manager. The Legacy (Calendar) mode documented on this page is the older view, kept for stations that have not yet moved to Clock Grids. New installations default to Clock Grids and most stations should use the modern editor described on the Scheduling Clocks page.
To switch your station to the modern view, see Migrating to Clock Grids below. The migration wizard converts your existing legacy schedule into a set of clock grids and keeps the original schedule stored so you can switch back if you need to. In Clock Grids mode a single weekly grid can always be used; layering multiple grids for special periods is the Advanced Scheduling workflow described on the Scheduling Clocks page.
Clocks must be scheduled in the schedule grid to be considered by the playout log scheduler.
The Legacy (Calendar) view is shown when Scheduling Settings > Clock Scheduling Mode is set to Legacy (Calendar). The schedule is presented as a weekly calendar with one row per hour and one column per day of the week. Schedule entries are placed by double-clicking an empty cell or edited by double-clicking an existing entry.
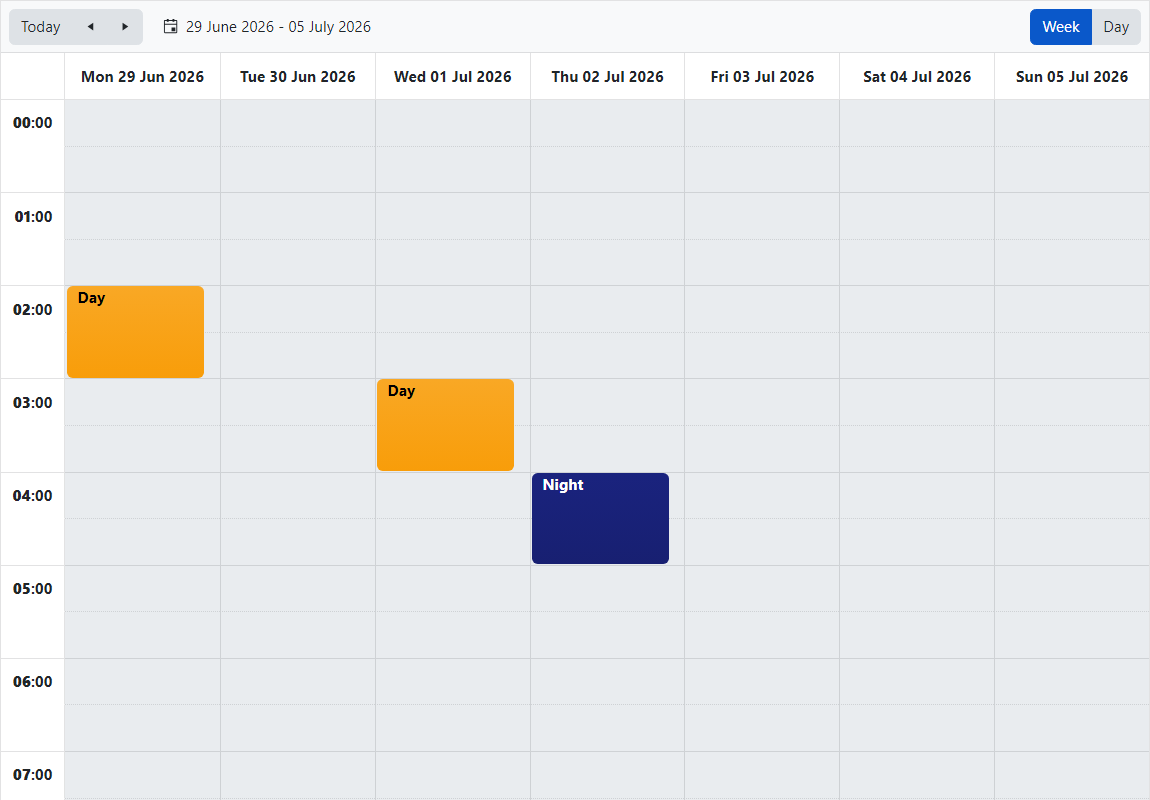
Date selector

Select the date range you wish to schedule clocks for. Click Today to go to the week or day for today. Use the arrows to advance weeks or days depending on the view. Click the calendar  icon to select a specific date range.
View selector

Select how you wish to view the schedule. Choose Day if Week does not fit your screen.
New schedule entry

Double click an empty space in the schedule grid to create a new schedule entry. The Edit Schedule Item dialog opens with the start time pre-filled from the cell you clicked, ready for you to pick a clock and, if needed, set up a recurrence.
Existing schedule entry
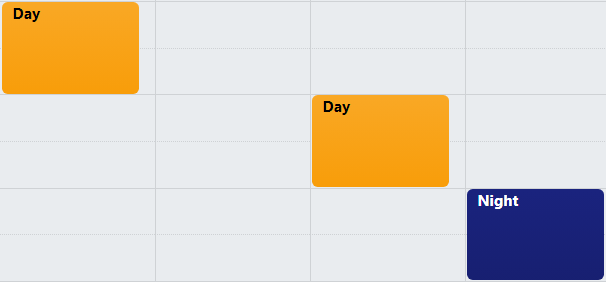
Double click an existing schedule entry in the schedule grid to edit it in the Edit Schedule Item dialog. Click the X on the entry to delete the schedule entry. The colour of the schedule item is determined by the colour set on the clock when editing clocks.
Editing a schedule item
Double-click an existing entry in the schedule, or double-click an empty cell to create a new entry, to open the Edit Schedule Item dialog. For a recurring entry you will first be asked whether you want to edit only this occurrence, this and all future occurrences, or every occurrence; this dialog appears once you have made that choice.
The dialog lets you change which clock is scheduled, when the entry starts, and, when Repeat... is ticked, the full recurrence rule (period, frequency, allowed days and hours, and end date).
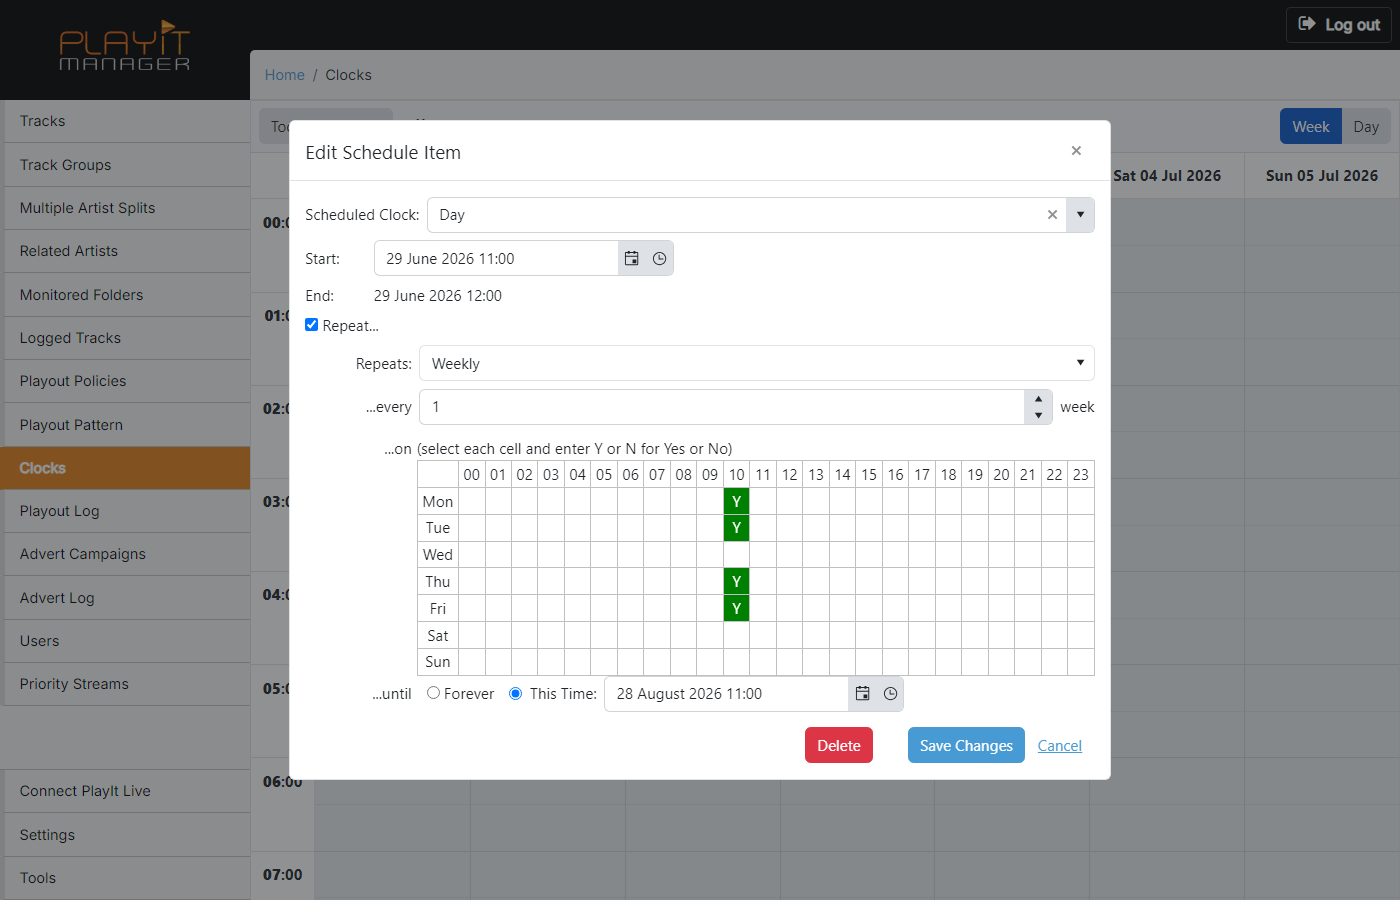
Scheduled Clock

The clock you wish to schedule in this time slot. Pick from the list of standard clocks defined on the editing clocks page.
Start date and time

The scheduled date and time of the schedule entry. The End time updates automatically because clocks are always scheduled for one hour.
Repeat checkbox

Tick this box to repeat the schedule entry on a regular pattern in the future. The repeat options below appear only when this box is ticked.
Repeats dropdown

Select how often the schedule entry should repeat. The options are Daily, Weekly, Monthly, and Yearly.
Repeats every

Select how frequently the schedule entry should repeat. For a fortnightly clock choose Weekly in the dropdown above and set this field to 2 weeks.
Repeat options
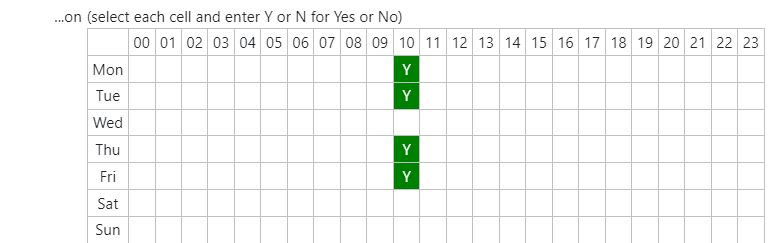
When Daily is selected, choose which hours of the day the clock should repeat on.
When Weekly is selected, choose which day-and-hour cells the clock should repeat on. Click a cell and type Y to include it or N to exclude it.
Repeats until

Pick when the recurrence should end. Forever keeps the schedule entry repeating indefinitely. This Time: stops the recurrence at the chosen date and time (inclusive).
Operations

Delete removes the schedule entry from the database after a confirmation prompt. For a recurring entry the confirmation lets you choose whether to delete only this occurrence, this and all future occurrences, or every occurrence.
Save Changes saves the schedule entry. Cancel discards the changes and closes the dialog.
Migrating to Clock Grids
Clock Grids is the modern, recommended way to schedule clocks in PlayIt Manager. It replaces the weekly calendar of the Legacy (Calendar) view described above with reusable weekly templates that can be stacked in layers, limited to date ranges, and combined with one-off overrides from the Schedule View.
If your station is still on Legacy (Calendar), the in-app migration wizard converts your existing schedule into a set of clock grids, switches the station to Clock Grids mode, and keeps the original legacy schedule stored in case you want to switch back. Nothing is deleted.
Why migrate
Clock Grids gives you several capabilities that the Legacy (Calendar) view does not:
- Layered grids. Build a base weekly template, then stack overlays on top for special weeks (festive periods, sports seasons, outside-broadcast days). Higher layers override lower ones only for the cells they fill. Layering multiple grids this way is the Advanced Scheduling workflow and needs a licence with the Advanced Scheduling module; a single grid can always be used. See Single grid vs. Advanced Scheduling.
- Reusable templates. Each grid is a named weekly template that can be limited to specific date ranges or to every Nth week. The same template can apply for months at a time without re-entering it.
- Schedule View with overrides. A separate Schedule View shows the resolved week and lets you pin a one-off clock to a single hour without changing the underlying templates.
- A modern editor. The Clock Grids editor edits a whole grid at a glance rather than one schedule entry at a time.
See Scheduling Clocks for a full walk-through of the new editor.
The Migrate to Clock Grids banner
When you open Scheduling Clocks while the station is still in Legacy (Calendar) mode, a banner appears above the weekly calendar offering to migrate.

The banner explains that Clock Grids is available and that nothing will be deleted. Your existing Legacy (Calendar) schedule is kept stored after migration so you can switch back at any time from Settings > Scheduling.
Click Migrate and Switch to open the migration wizard. The banner also offers Switch Without Migrating (move to an empty Clock Grids workspace without bringing your legacy schedule across) and Dismiss (hide the banner on this browser without changing anything).
The banner only appears in Legacy (Calendar) mode. If your station is already in Clock Grids mode, the banner is not shown.
The migration wizard
Clicking Migrate and Switch opens the migration wizard. The first step analyses your legacy schedule to work out which weekly clock grids will best represent it.
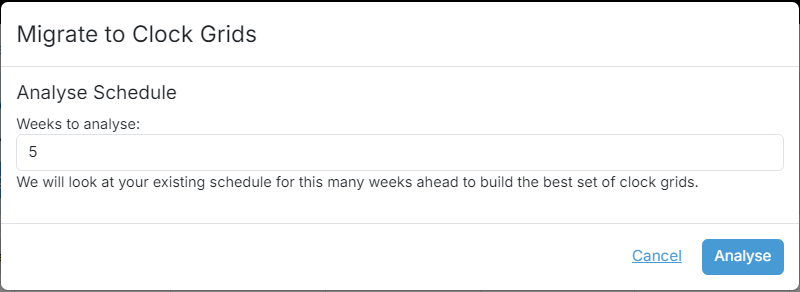
The wizard runs in three steps: Analyse Schedule, Review Grids, and Migration Complete.
Choose how many weeks of your existing schedule to look at when building the clock grids. A larger horizon catches more variation (for example, an every-other-week pattern that only shows up after several weeks) but takes longer. The default of five weeks is a good starting point.
Click Analyse to build the proposed set of clock grids. The wizard then advances to the Review Grids step where each proposed grid is shown with its name, layer, recurrence, active dates, and the number of hours it covers, so you can confirm the conversion before applying it. Cancel closes the wizard without making any changes.
What migration does
When you confirm the Review Grids step, the wizard:
- Creates one or more clock grids that together reproduce the resolved schedule the playout log scheduler would have used from Legacy (Calendar). Grids that only apply on certain weeks or within certain date ranges are created with the matching recurrence and date range limits.
- Marks every created grid as migrated from legacy so the editor labels them in the grid list. You can edit migrated grids like any other grid; the label is informational.
- Switches the station to Clock Grids mode and reloads the Scheduling Clocks page so the new editor appears.
Grids the wizard creates stay active even if your licence does not include the Advanced Scheduling module, so your migrated schedule keeps working whether or not Advanced Scheduling is licensed. Only additional non-migrated grids you build by hand require Advanced Scheduling. See Single grid vs. Advanced Scheduling.
The original Legacy (Calendar) schedule is kept stored even after migration. It stops taking effect, but you can switch back to Legacy mode from Settings > Scheduling > Clock Scheduling Mode at any time and your previous schedule will be there as you left it.
If you have already migrated once and run the wizard again, the Review Grids step warns you how many existing migrated grids will be replaced. Any grids you have created by hand are left alone.
If a small number of hours in the legacy schedule do not fit any weekly pattern within the chosen horizon, the Review Grids step shows a warning telling you how many hours will be dropped. Increase the horizon to give the wizard more weeks to find a pattern, or accept the warning and add those hours back in the Clock Grids editor or add them as overrides in the Schedule View afterwards.
After migration
After the wizard finishes, the Scheduling Clocks page reloads in Clock Grids mode. See Scheduling Clocks for the new editor and for the Schedule View where one-off overrides are applied.