Installation
PlayIt Manager is a browser based server application enabling the remote management and data synchronisation of PlayIt Live data.
To install PlayIt Manager, download the latest version from the PlayIt Software website.
See also: Upgrading versions and Uninstallation.
Installation Steps
Download the installer
Visit playitsoftware.com/Products/Manager and click the Try for Free button to download the latest version.


Run the installer
Once the download is complete, run the downloaded .exe file.

Accept the licence agreement
You will first be presented with the software licence agreement. Once you have read and agree to these terms, click I Agree.
Choose components
Choose the components to install. Here you can select whether to install Start Menu and Desktop shortcuts. Click Next to continue.
Choose install location
Choose the location to install the software. By default, this is in Program Files, but can be changed to your preference. Click Install to begin installation.
Launch PlayIt Manager
Tick Start PlayIt Manager and click Finish to launch PlayIt Manager. If PlayIt Manager does not launch, type PlayIt Manager from the Start Menu.
Allow elevated privileges
On first run, PlayIt Manager requires elevated privileges (Administrator mode) in order to manage the HTTP configuration for the application. For advanced users, the scripts it will run are:
netsh http add urlacl url=http://localhost:25432/
netsh http add urlacl url=http://+:25432/
The User Account Control window will look like this:
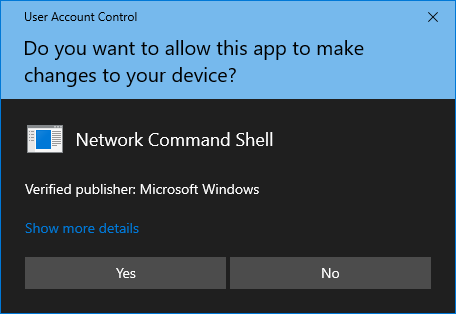
User Account Control prompt showing the request for elevated privileges
Click Yes to continue.
Accessing PlayIt Manager
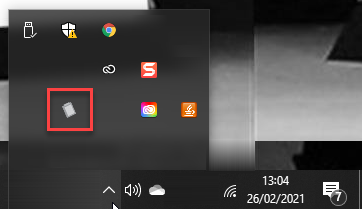
PlayIt Manager will start up and launch a browser window so you can start using PlayIt Manager. While PlayIt Manager is running, it can be found in the Notification Area (System Tray). Double click the icon to show the Configure PlayIt Manager Server window, where you can configure advanced settings and enable external access.
The next required step is Activation.