Quick Start
PlayIt Recorder is used to create scheduled recordings of the audio from your selected sound card device.
Initial Setup
When you first launch PlayIt Recorder, the message 'Click here to set up PlayIt Recorder' will appear in the notification bar. Click this to open the Settings window.

After initial setup, you can open the settings window by going to File > Settings... from the main window.
From the Settings window, select the device you wish to record, the recording location, the format of the recording filename and the format of the recording. If you choose not to convert the recording audio it will be recorded in WAV format.
You can also choose to delete recordings after a number of days, or when the space on disk drops below a certain percentage. You can also add a chosen number of minutes to each recording to ensure there is an overlay on each recording.
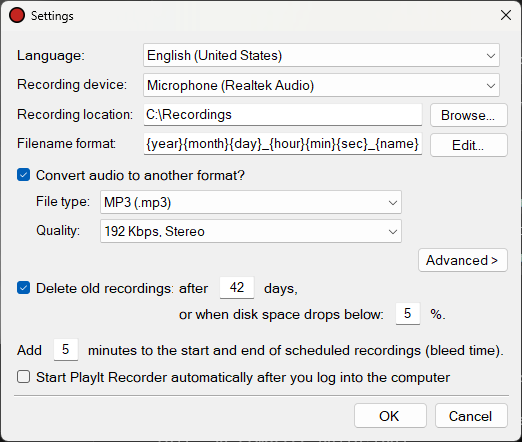
Click OK to save your settings. For more information about each of the settings, see the Settings section.
Creating a Program
Each recording must be associated with a Program. To create a program, from the main window go to Programming > Programs...
Click the Add New button and enter a name for your first program:
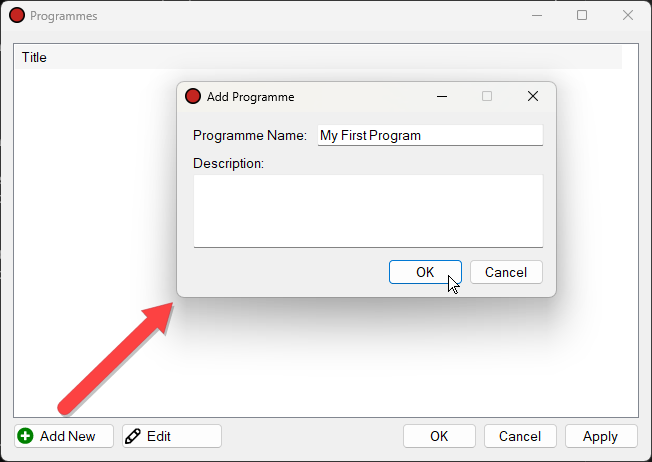
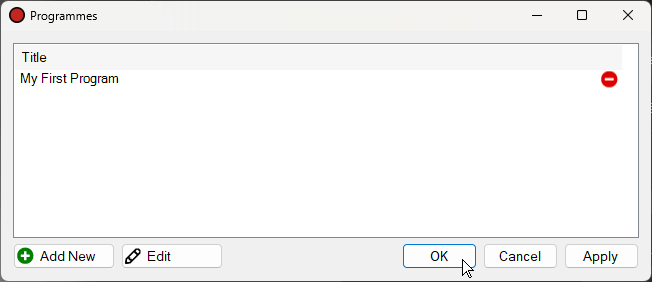
To confirm your changes, click the OK button on the Programs window:
Scheduling a Recording
Next you need to schedule a program to record. Go to Programming > Schedule...
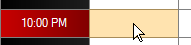
Choose the slot you want to schedule by clicking in the grid, or click the Add New Button:
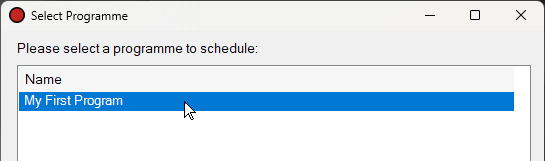
Then choose the program you want to schedule:
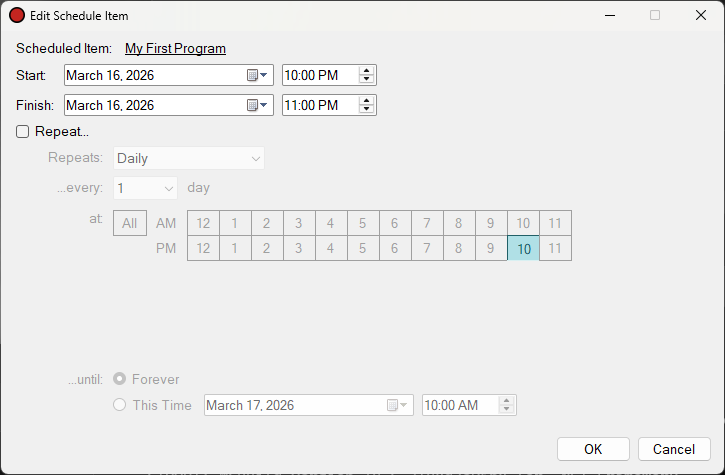
Review the schedule item settings.
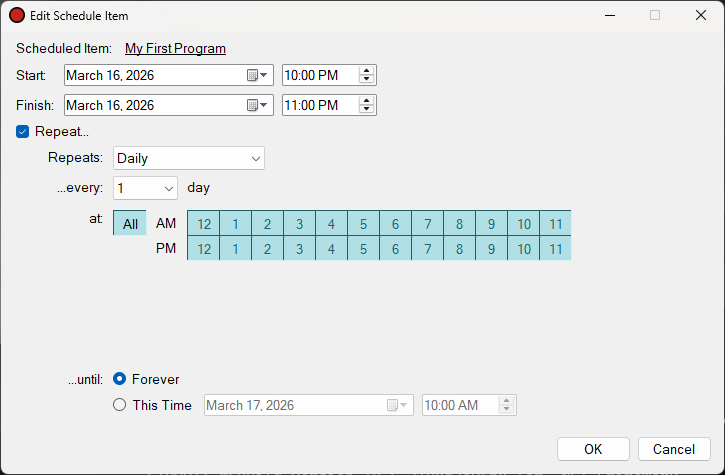
If you want to repeat the recording you can use the Repeat checkbox. For example, if you simply want to record every hour of every day you can choose Repeats Daily, every 1 day, at All hours:
Click OK to save the schedule item.
The grid shows the new schedule item:
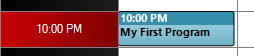
Click OK to save the schedule.
You will be prompted to start the scheduler if you have not already done so.
Go to Recordings > Start Scheduler... to start the scheduler.
During the scheduled item time the recorder will record the device you set in settings.
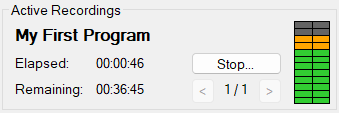
To stop the recording early press Stop...
Quick Recording
If you need to record a one-off recording outside a schedule, you can use the Quick Record controls:
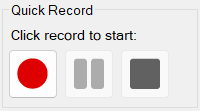
Click the record button to launch the Start Quick Recording window:
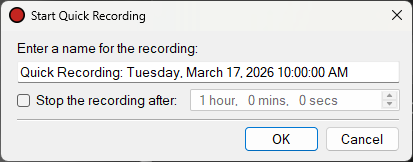
The name will be given a default, so press Enter to start the recording, but you can change the name to something more informative if you need to. You can also stop the recording after a period of time. Click OK or press Enter to start the recording.