The schedule window allows you to set up when programs will be recorded.
To add a recording, click an empty slot in the grid (or use the Add New button), then choose the program to record. To change an existing recording, double-click it to open the Edit Schedule Item window. Use the week buttons to move between weeks, and click OK to save your changes.
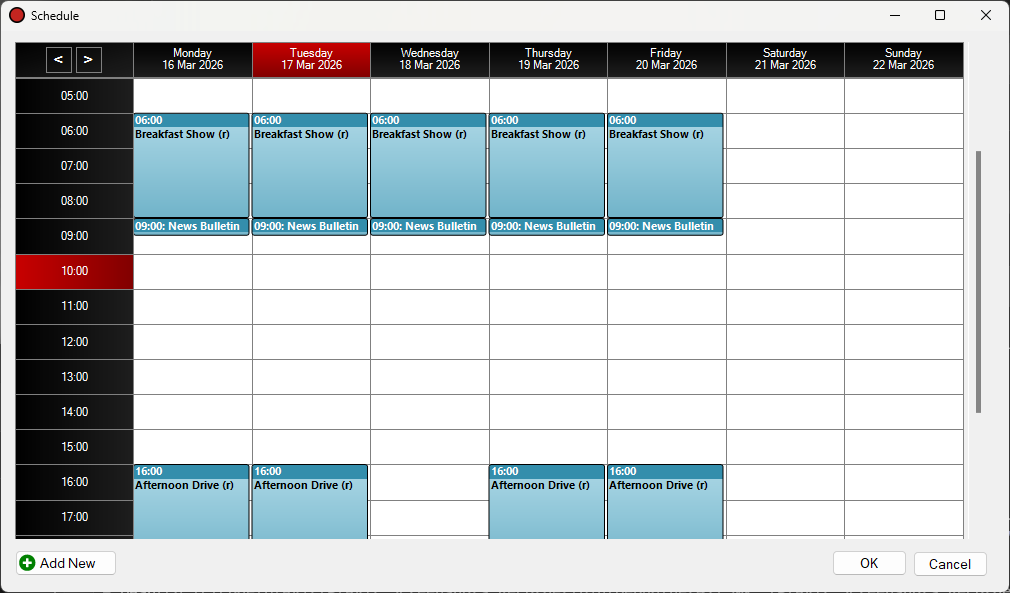
The Schedule window.
Move Weeks Buttons

Use these buttons to move between weeks in the past and future.
Day Heading
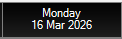
Shows each day of the week. The current day is indicated in red.
Hour Heading

Shows each hour of the day. The current hour is indicated in red.
Scheduled Program
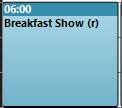
Indicates a scheduled program in the schedule. Double-click the scheduled program box to edit it. The Edit Schedule Item window will be shown. To delete a schedule item, right-click and select Delete.
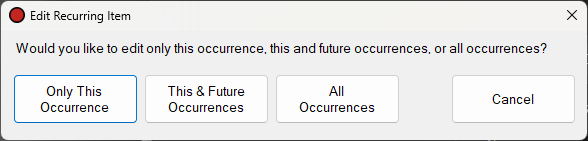
For recurring schedule items the Edit Recurring Item window will be shown, allowing you to select whether to edit only this occurrence, this and future occurrences, or all occurrences.
Empty Slot
This shows an empty hour slot in the schedule. Click the slot to add a schedule item. You can drag to create a schedule item longer than one hour. The Select Program window will be shown, followed by the Edit Schedule Item window. It is possible to schedule recordings of any duration via the Edit Schedule Item window, they are not restricted to hours.
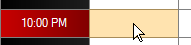
Click an empty slot to add a schedule item.
Scroll Bar
Use the scroll bar to move up and down to hours throughout the day.
Add New Button

Click the Add New button to create a new hour-long schedule item at the current time. The Select Program window will be shown, followed by the Edit Schedule Item window.
OK Button

Click the OK button to save any changes made to the schedule.
Cancel Button

Click the Cancel button to discard any changes made to the schedule.