
Your First Voice Tracked Show
When you first start PlayIt VoiceTrack you will be presented with this screen.
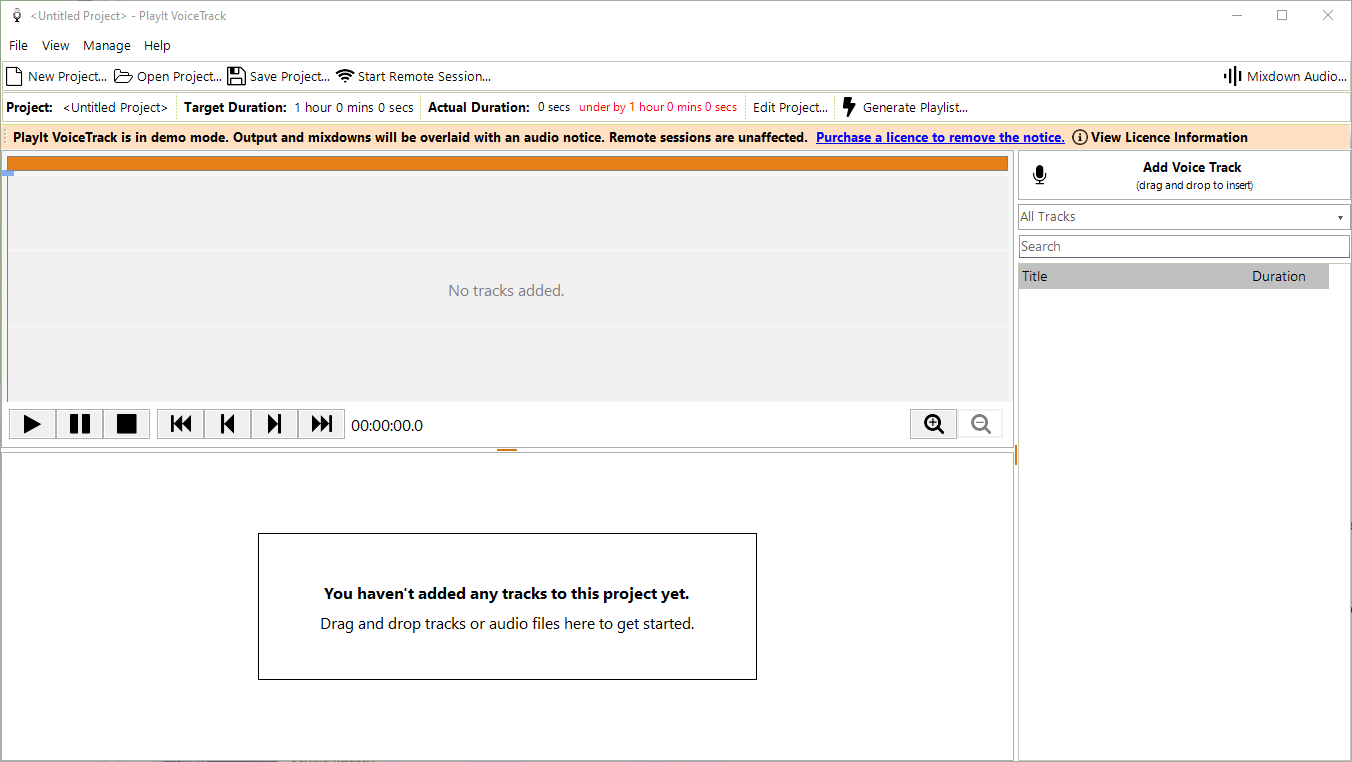
Note that PlayIt VoiceTrack requires the Voice Tracking module from PlayIt Software. If you have not purchased the module the software will be in demo mode, which means that any audio output or mixdowns will be overlaid with an audio notice. A banner is shown at the top of the main window to indicate this. Click the link to purchase a licence for the module and remove the notice.
Adding music
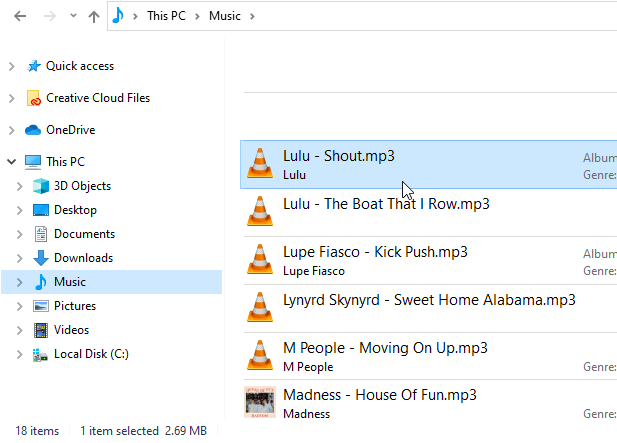
To get started with your first show, you will need to add some music to play on your show. You can do this by dragging and dropping files from your computer, for example, your Music folder:
You can manage all your music tracks from within PlayIt VoiceTrack by going to Manage Tracks. If you have already added tracks to PlayIt Live, you can select PlayIt Live as the data source to use its tracks.
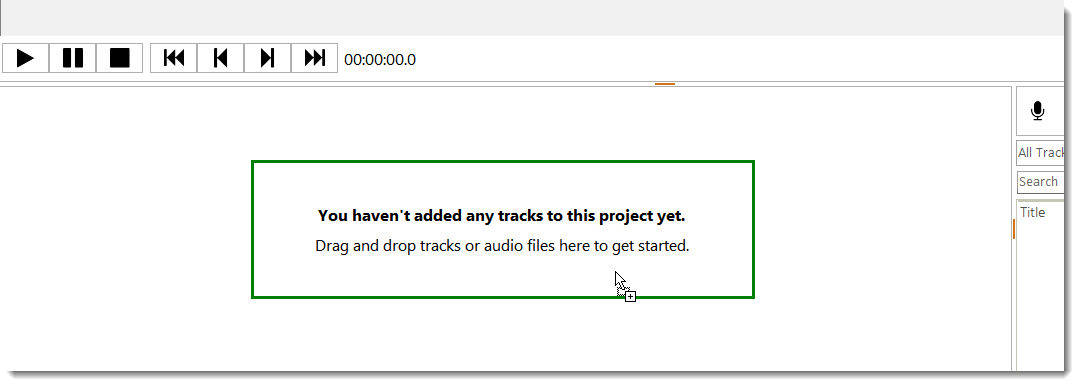
Drop the files or tracks into the Playlist area:
Continue to add tracks until you have all the music you need.
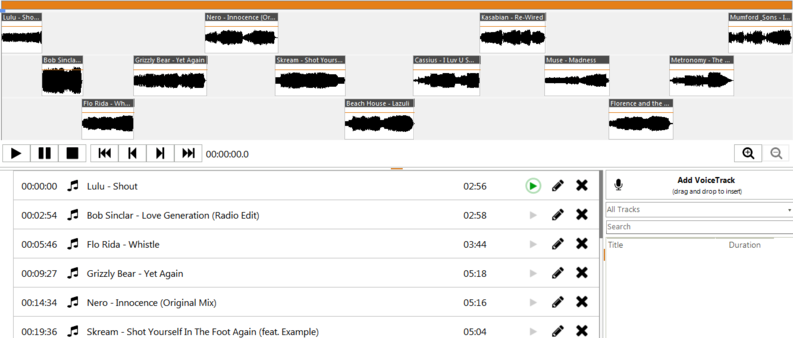
As you will see, the Multi Track View at the top is populated with a waveform representation of each track. The start and end of each track is analysed for silence in order to provide a default segue for each track. You can zoom into the view using the mouse wheel or the zoom buttons. You can drag the orange bar to pan through the tracks:

Adding voice tracks
Now you have added songs, it is time to record some voiceover links between the songs. Drag and drop a voice track by clicking and holding the Add Voice Track button and dragging it between the tracks you want to talk between:


Continue to add voice tracks between the songs you wish to talk between. By default, voice tracks add a placeholder of 1 minute to give an estimated time for the voice link. To change the placeholder time, click the [01:00] time and enter a new time amount. After you have added voice tracks your playlist should look something like this:
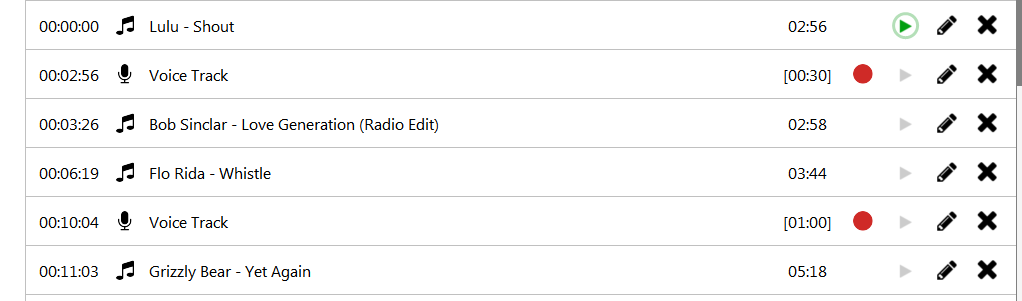
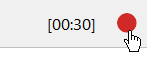
To set up recording your voice track, click the red record button on the track in the playlist:
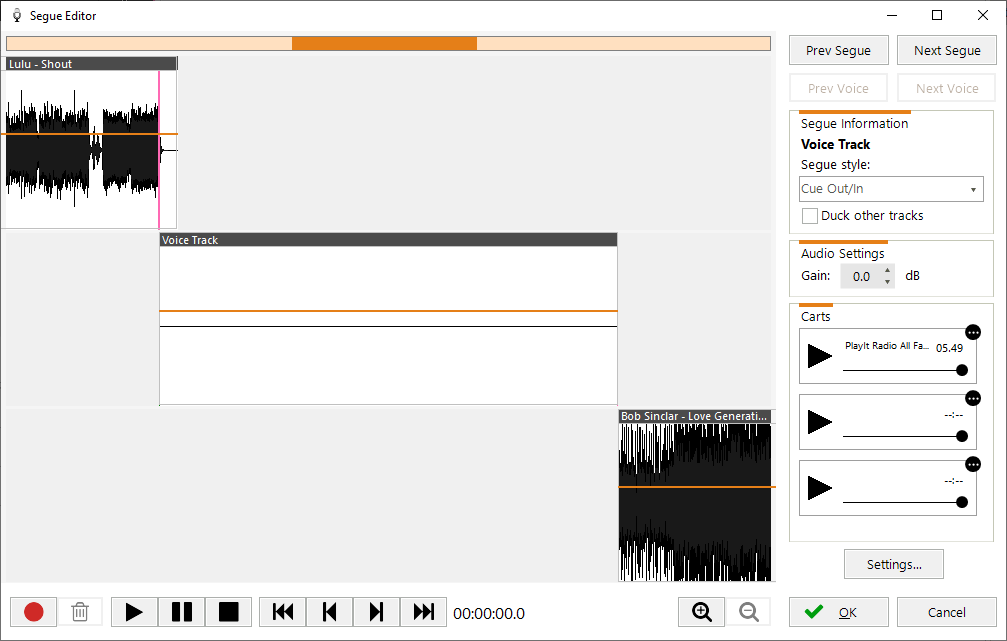
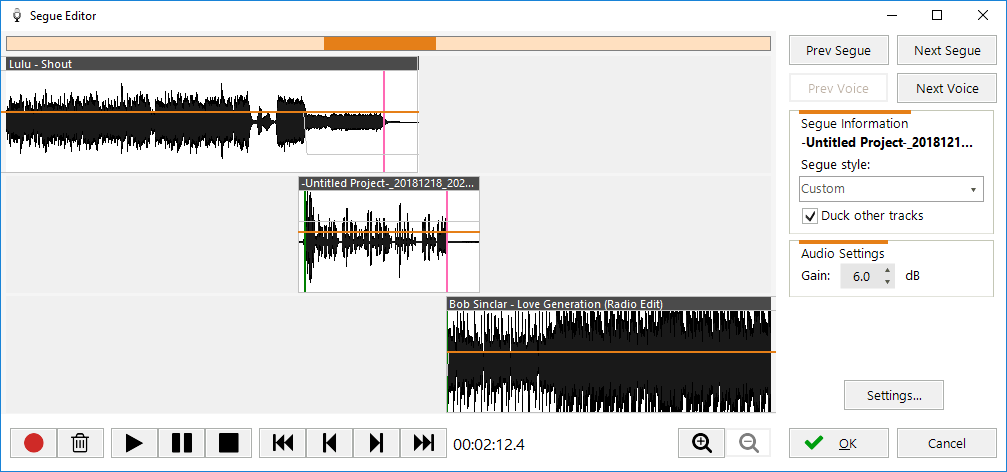
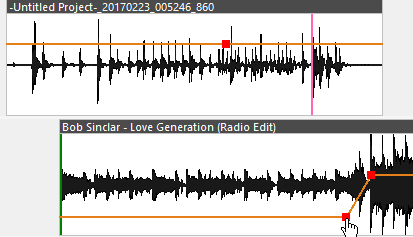
This will open the segue editor window. This is a reduced version of the multi track view from the main window displaying only the selected track and the preceding and succeeding tracks.
Selecting microphone device
The first time you use the segue editor for recording, you should select the audio device that represents your microphone. You can do this by clicking the Settings button and reviewing the audio device selections.
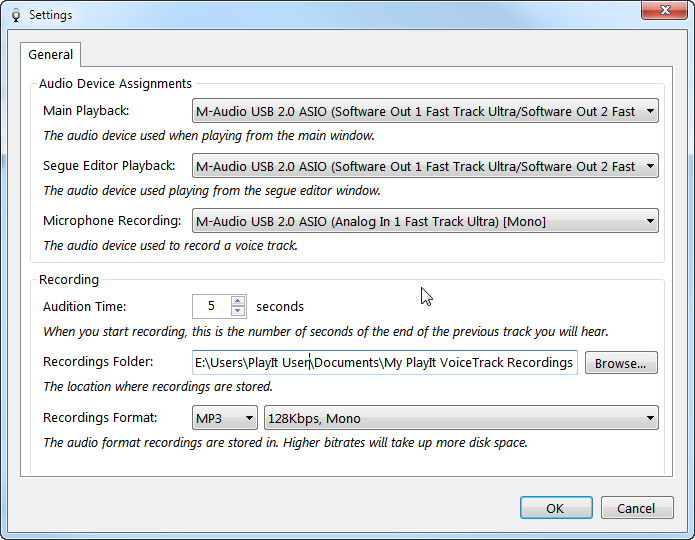
The selected microphone device should be one that records just the microphone and does not record any music playback. Click OK to confirm any changes.
Recording voice track
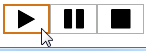
Click the record button to start the recording of your voice track:
Your voice track will begin recording and the audio from the end of the preceding track will begin playing. Speak into your microphone to record the audio for your voice track. The icon on the button will change to:
Click the button again to play the next track. Click the button a final time to finish the recording and stop playback.
Alternatively you can use the 'R' key to cycle through Record > Play Next > Stop actions for fast operation.
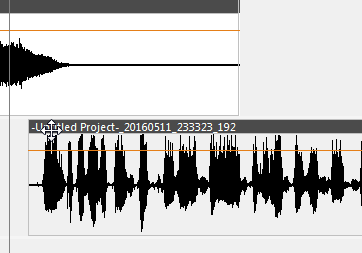
Trimming tracks
As the voice track is recorded you will see the waveform being produced. Once stopped, you can trim the start and end of the recording by dragging the start and end of the waveform container.


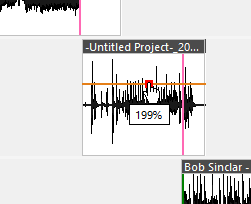
Adjusting voice track volume
If the volume of the track you have recorded is too quiet you can adjust the volume up by clicking on the orange volume envelope line and dragging up. The waveform will change to show that the volume is increasing.
Changing track segue
You can move any track by dragging the top bar of the waveform container. If you move the waveform from the start (i.e. left end) it will be moved in relation to the previous track. If you move the waveform from the end (i.e. right end) it will be moved in relation to the next track. This ensures that track segues remain anchored to their respective tracks unless you explicitly want to change the segue.
Fade tracks and changing volume
Once the recording has been completed, you will need to modify the volume of the tracks if you are talking over them. You can do this by clicking on the orange line which represents the volume envelope. This will create an envelope point which you can move to a specific volume at a specific time. Create multiple points to reduce the volume and fade the volume:
1. Select the first point
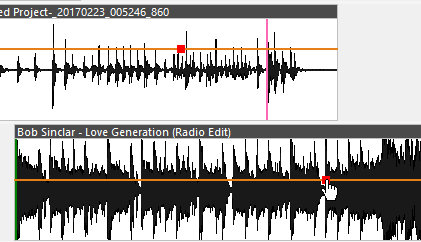
2. Click the line before the point and drag the volume down
This will update the waveform so you can visually see the volume is lower before the fade up after the vocal has finished.
Listening again
Use the playback controls to listen to the output:
Recording a bed (background music) with your voice track recording
When recording a voice track, you will see a Carts section on the right hand side. This can be loaded with an audio file, such as a bed for playing under your voice. You can load the audio file by dragging and dropping it from the file system, or you can use the  icon to load a track from the database. Click the Play button to start playing the cart while recording your voice track. The cart audio will be mixed in with your voice recording. Please ensure you have loaded the cart before starting the voice track recording.
Recording next voice track
To record the next voice link, click the Next Voice button:
Repeat the process to record all the voice links.
Click the Save button to save changes and exit the segue editor.
Reviewing
The Multi Track View at the top will show all the tracks and voice tracks in the project.
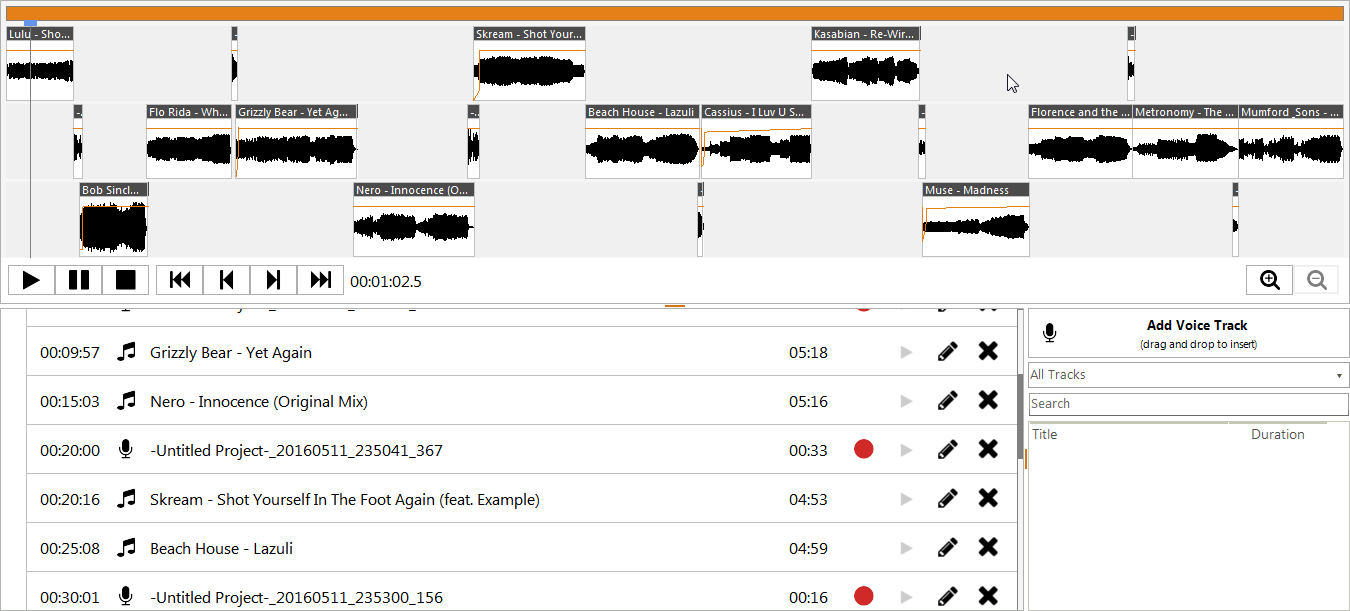
You can double click on any track in the playlist or multi track view to edit the segue or re-record a voice track.
Saving
You should save your project regularly by clicking the Save Project... button or pressing CTRL+S.
Project information
The bar at the top displays the information about the project. You can edit the project name and also change the target duration if you need to record to a specific time. The red text shows the under/over time of the target duration.
Mixing down to file
Once you are happy with the sound of your show, you can Mixdown the audio to a single audio file. Click the Mixdown Audio button.
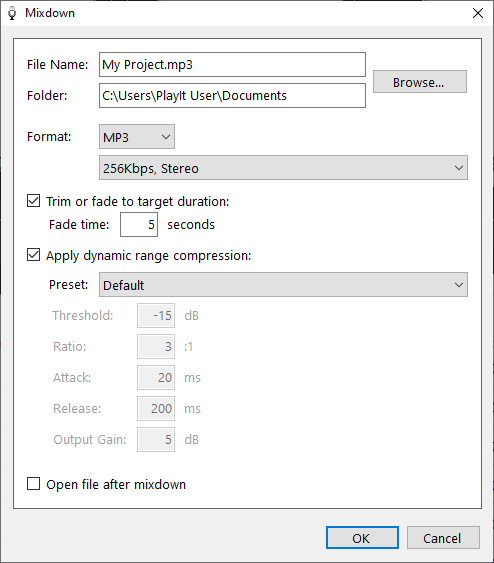
Choose a file to mix the project down to. Check the Open file after mixdown checkbox to open the audio file in your default audio player. Click the OK to begin mixing down the audio.
Once the mixdown process has finished you will have completed your first voice-tracked show.
Remember: If you have not purchased the PlayIt Software Voice Tracking module required for PlayIt VoiceTrack, the mixed down audio will be periodically overlaid with an audio notice. To remove the notice, please purchase via https://www.playitsoftware.com/Products/VoiceTrack