×
Menu
Index

Segue Editor

 
The segue editor is used to give you greater control over how tracks are sequenced. Tracks can be moved closer or further away from the preceding or succeeding track. If you are familiar with PlayIt VoiceTrack, the segue editor operates in the same way. It is possible to move tracks, trim the start and end, and fade tracks in and out or adjust the volume.
 
Segue Editor
 
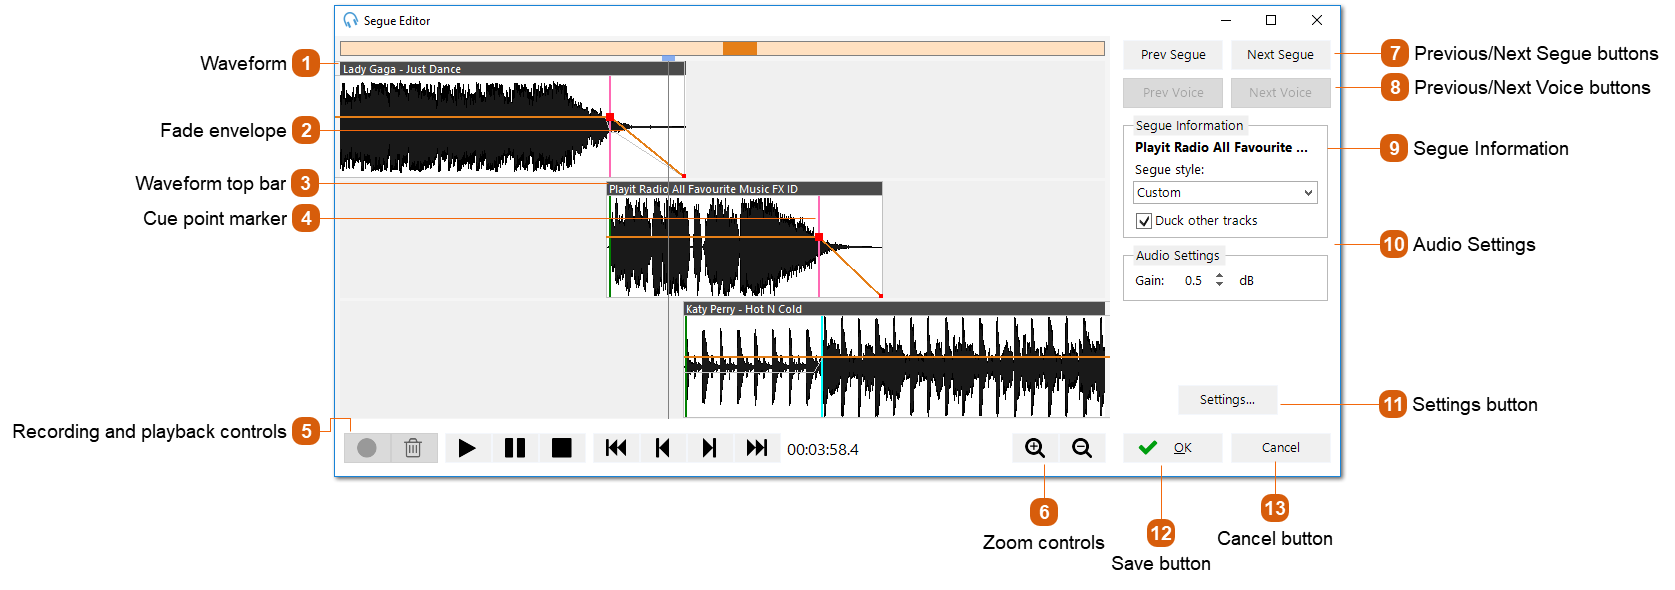
Click anywhere in the waveform view to set the current position marker.
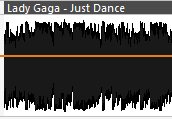
 
1

Waveform

1. Waveform
The waveform represents the audio signal. It shows the changes in amplitude over the duration of the track.
2

Fade envelope

2. Fade envelope
Changing the fade envelope allows you adjust the volume of the track. Click the orange line on the waveform to edit the fade envelope. Clicking on the line will create an envelope point. Adding multiple envelope points will allow you to create a shape to adjust the fade volume. To remove a point drag the point outside the waveform box. The light-grey envelope shown is the effective envelope when a track playing at the same time has Duck other tracks enabled.
3

Waveform top bar

3. Waveform top bar
Drag and drop the top bar of the track to align it with the previous or next track.
4

Cue point marker

4. Cue point marker
A thick vertical line shown on the track represents a cue point marker. The Cue In point is shown in green, the Cue Out point is shown in pink and the Intro point is shown in cyan. Cue Points can be changed via Manage > Tracks and editing a track.
5

Recording and playback controls

5. Recording and playback controls
 
Record button: start recording from your microphone. Please see Voice Tracking section more details. This button is disabled if you are not editing the segue for a voice track.
 
Delete recording button: deletes the recording so it can be discarded. This button is disabled if you are not editing the segue for a voice track.
 
Play button: start playback from the current playback position. Tip: You can use the space bar to perform this action.
 
Pause button: pause playback at the current playback position.
 
Stop button: stop playback and reset to the previously selected position marker. Tip: You can use the space bar to perform this action if audio is playing.
 
Jump to start: move the position marker to the start of the view. Tip: You can use the home key to perform this action.
 
Move to previous track: move the position marker to the previous track from the current position. Tip: You can use the page down key to perform this action.
 
Move to next track: move the position marker to the next track from the current position. Tip: You can use the page up key to perform this action.
 
Jump to end: move the position marker to the end of the view. Tip: You can use the end key to perform this action.
 
Current playback position: indicates how long has elapsed in the project
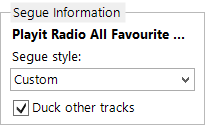
6

Zoom controls

6. Zoom controls
As an alternative to using the mouse wheel to zoom the multi track view, you can use the zoom buttons to zoom in and out.
7

Previous/Next Segue buttons

7. Previous/Next Segue buttons
Quickly move to the previous or next tracks in the playout log. These can be used to iterate through the tracks in the playout log efficiently.
8

Previous/Next Voice buttons

8. Previous/Next Voice buttons
As above, but you will advance to only voice track segues. These can be used to iterate through voice tracks and quickly record voice tracks. These buttons are disabled if there are no voice tracks nearby in the log.
9

Segue Information

9. Segue Information
The segue information shows how the selected track will sequence from the previous track into the next track. To see the segue information for the track simply click on the waveform.
 
The segue style defines specific ways that the track will sequence:
By default, the segue style is Cue Out/In, this means the cue in of the track will line up with the cue out of the previous track.
For Sweep Start, the sweeping track will start at the same time as the next track, provided it is short enough to play before the intro point of the next track. If the sweeping track is longer than the intro of the next track, the sweeping track will start before the next track and play up to the end of the intro.
For Sweep Intro, the sweeping track will finishing playing immediately before the end of the intro point of the next track.
For Custom, you can manually set up how the tracks sequence with each other.
 
When you move a track by dragging the waveform the segue style will automatically change to Custom.
 
Note that Sweep Start and Sweep Intro require Intro points to be set on tracks, otherwise Cue Out/In will be used.
 
The Duck other tracks checkbox can be used to reduce the volume of the previous and next track when this track is played. You can configure the ducking (volume and speed) via the Settings button. When ducking is active you can see the effective track envelope changing to show the volume change.
 
 
10

Audio Settings

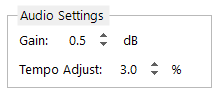
If the volume of a track or recorded voice track is too quiet, use the Gain setting to increase the volume. The default gain for voice tracks can be set via Settings....
 
It is also possible to adjust the tempo of the track. Typically this is used automatically by the Auto Adjust feature to fit items to a Fixed Time Marker or the end of the hour.
11

Settings button

11. Settings button
The settings button allows quick access to voice tracking settings from the segue editor. Here you can edit the audition time or the audio devices for playback or recording.
12

Save button

12. Save button
Save your segue changes and close the segue editor window.
13

Cancel button

13. Cancel button
Discard your segue changes and close the segue editor window.