The main window is the main control of PlayIt Recorder. It shows the active recordings, completed recordings and allows the ability to start Quick Recordings.
Menu
File:
Settings...: Configure PlayIt Recorder
Exit...: Exit PlayIt Recorder. Any scheduled recordings will stop and future recordings will not start.
Recordings:
Start Scheduler...: Starts up the scheduler and any scheduled recordings will start.
Stop Scheduler...: Stops the scheduler and any scheduled recordings will stop.
Explore Recordings...: Explore to the recordings folder to access any completed recordings.
Programming:
Programmes...: Manage programmes. Programmes indicate the name of the recording.
Schedule...:Manage the schedule, this defines when programmes will be recorded.
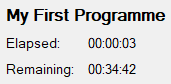
Use the arrows to select between currently active recordings. If there are multiple programmes scheduled at the same time, or you have entered the bleed time setting then multiple active recordings can occur.
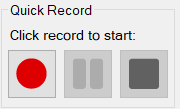
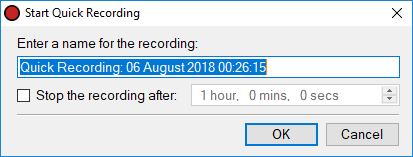
Click the record button to start a quick recording. This will show the Start Quick Recording window allowing you to enter a name for the recording. A default name will be shown so you can just press Enter or click OK to start the recording. You can enter a different name if you need to. You can also select the Stop the recording after check box to select a time after which the recording will stop.
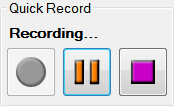
When the recording is active, the controls will look like this:
Press the pause button to temporarily halt the recording. Press the stop button to end the recording.
The recording levels show the volume of the recording. This is used to monitor the recording to ensure the audio is not too loud or quiet. Recordings should aim for the green area.