×
Menu
Index

Editing Tracks

Editing Tracks
 
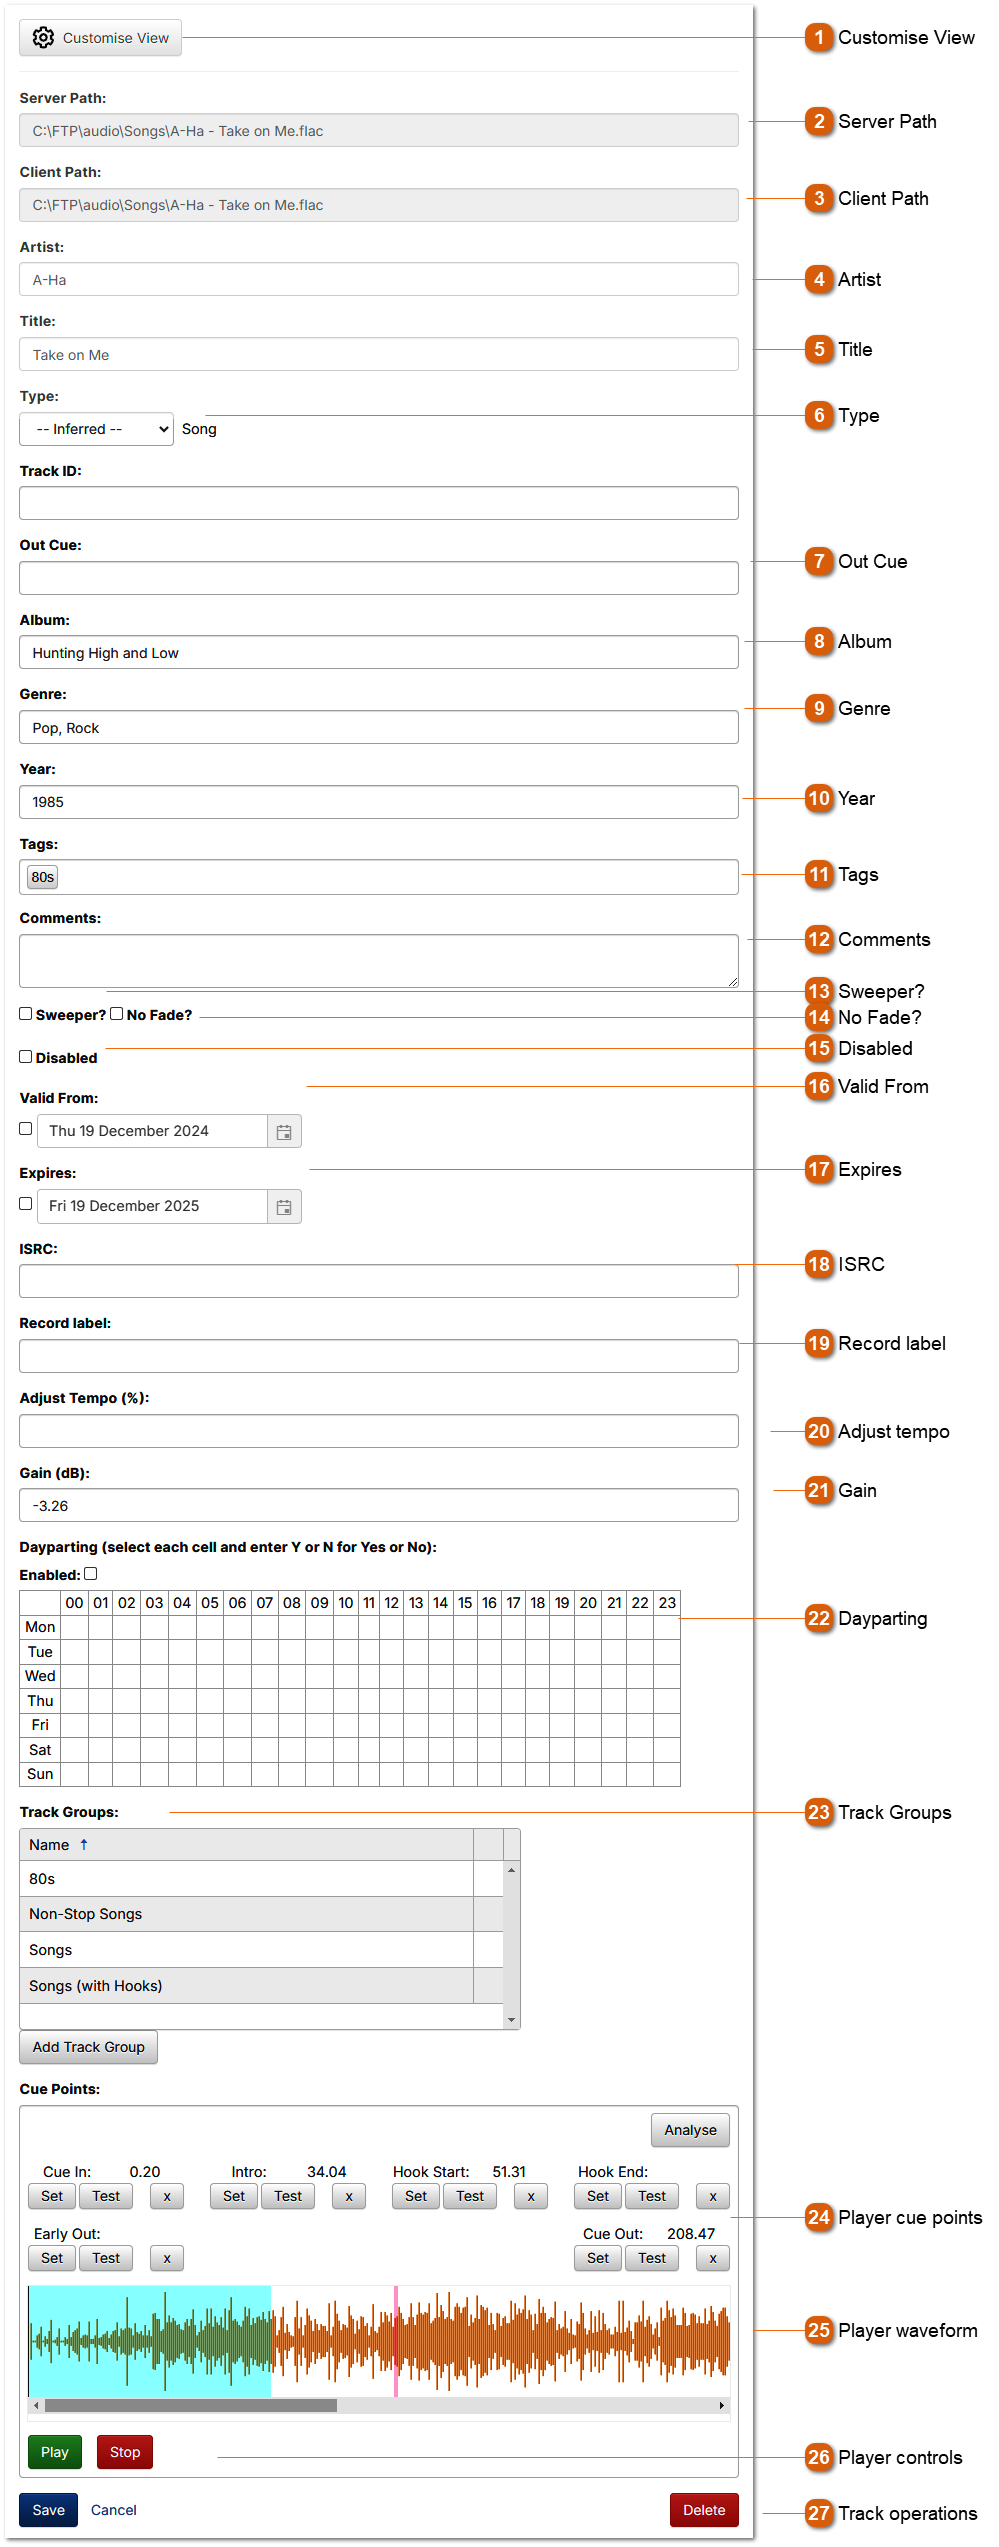
Track properties can be edited from the Edit page.
 
1

Customise View

1. Customise View
Filter the fields that are visible on this page to only the fields you are interested in editing.
2

Server Path

2. Server Path
The path of the track audio file on the PlayIt Manager server machine.
3

Client Path

3. Client Path
The path of the track audio file from the PlayIt Live client perspective. The client path is created by applying track path substitutions on the server path.
4

Artist

4. Artist
The artist of the track. This is displayed on the track list and players on PlayIt Live.
5

Title

5. Title
The title of the track. This is displayed on the track list and players on PlayIt Live.
6

Type

6. Type
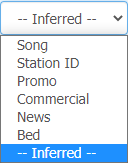
The type is used to describe the track. By default, 'Inferred' is selected which determines the type based on artist, title, tags and duration.
 
The following rules are used to determine the track type when 'Inferred' is selected:
If Tags contains one of the track types, that track type is inferred.
Otherwise, if the Artist or Title equals one of the track types, that track type is inferred.
Otherwise, if the Duration is less than 30 seconds, Station ID is inferred.
Otherwise, Song is inferred.
7

Out Cue

7. Out Cue
The style of the outro of the track. Used to indicate to operators how the track will end.
8

Album

8. Album
The album the track belongs to.
9

Genre

9. Genre
The type of music the track represents. Can be used in track group filters.
10

Year

10. Year
The year the track was released. Can be used in track group filters.
11

Tags

11. Tags
Keywords or terms used to describe the track. Can be used in track group filters.
12

Comments

12. Comments
A free-text field used as a description of the track. This text is displayed on the main playout log when an item is expanded on PlayIt Live.
13

Sweeper?

13. Sweeper?
Whether the track is a sweeper. A sweeper is a track that can be played over the start of the intro of another song. It is typical dry (no background music) so it does not clash with the track it is playing over.
14

No Fade?

14. No Fade?
Tracks marked with No Fade will not be faded when the Cue Out point of the track is reached. This is typically used if the track is already fading.
15

Disabled

15. Disabled
Disabled tracks will not be considered by the scheduler when scheduling track group items.
16

Valid From

16. Valid From
This track will not be considered by the scheduler when scheduling track group items if the scheduling time is before the Valid From date.
17

Expires

17. Expires
This track will not be considered by the scheduler when scheduling track group items if the scheduling time is after midnight on the Expires date.
18

ISRC

18. ISRC
The ISRC (International Standard Recording Code) of the track used for reporting.
19

Record label

19. Record label
The record label of the track used for reporting.
20

Adjust tempo

20. Adjust tempo
This is the amount by which the tempo of the track will be increased or decreased when the track is played in a player in PlayIt Live. While the tempo is changed, the pitch of the track is preserved.
21

Gain

21. Gain
This is the gain applied to the player in PlayIt Live when this track is loaded. This can be set automatically using the Loudness Analysis feature.
22

Dayparting

22. Dayparting
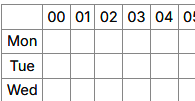
You can define at what times of the week the track can play. This is useful if you want to prevent a track from being played at the weekend, for example. The Dayparting feature requires a licence with the Advanced Scheduling module.
 
To select assign an hour click the cell and enter Y or N for Yes or No.
23

Track Groups

23. Track Groups
 
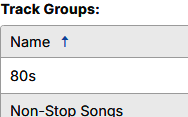
Assign the track to track groups directly from this section. Click the Add Track Group button to add the track to a Listed Track Group or click the icon to remove it.
24

Player cue points

24. Player cue points
Use these buttons to set the relevant cue points. Use the Set button to set the point and the Test button to start playing from the position of the point. Click the x to reset the position to the default.
 
Cue points can also be tweaked using the keyboard. Click on the cue point of interest, and press Left Arrow and Right Arrows to adjust the cue point by 0.01. Press SHIFT+Left Arrow and SHIFT+Right Arrow to adjust the cue point by larger jumps of 0.1. Cue points can also be adjusted by clicking and dragging the mouse over the cue point position value. The set cue point can be quickly tested by pressing Enter and double-clicking the cue point value. Press the Spacebar to stop playback.
 
25

Player waveform

25. Player waveform
Displays the track audio as a waveform. Click anywhere in the waveform to play from that point.
26

Player controls

26. Player controls
Use these buttons to play, stop and analyse the track in the embedded player. Use the Analyse button to automatically find the Cue In and Out points based on silence at the start and end of the track.
27

Track operations

27. Track operations
Use the Save button to save the track to the database.
Use the Cancel button to discard all changes.
Use the Delete button to remove the track from the database - a confirmation box will be shown.